Tutorial: run pre-built example project
Eclipse Configuration
Run NRMKLauncher and you can see Eclipse button active. Click on Eclipse to run eclipse (as administrator).

NRMKLauncher
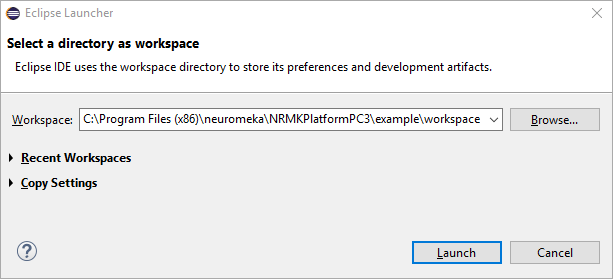
After launching Eclipse and setting the workspace, the initial window appears as shown below.

You may change the default workspace by selecting File > Switch Workspace > Other. In this tutorial, example/workspace, which is subdirectory of NRMKPlatformPC2 (or NRMKPlatformPC3), is set to a workspace as shown picture.
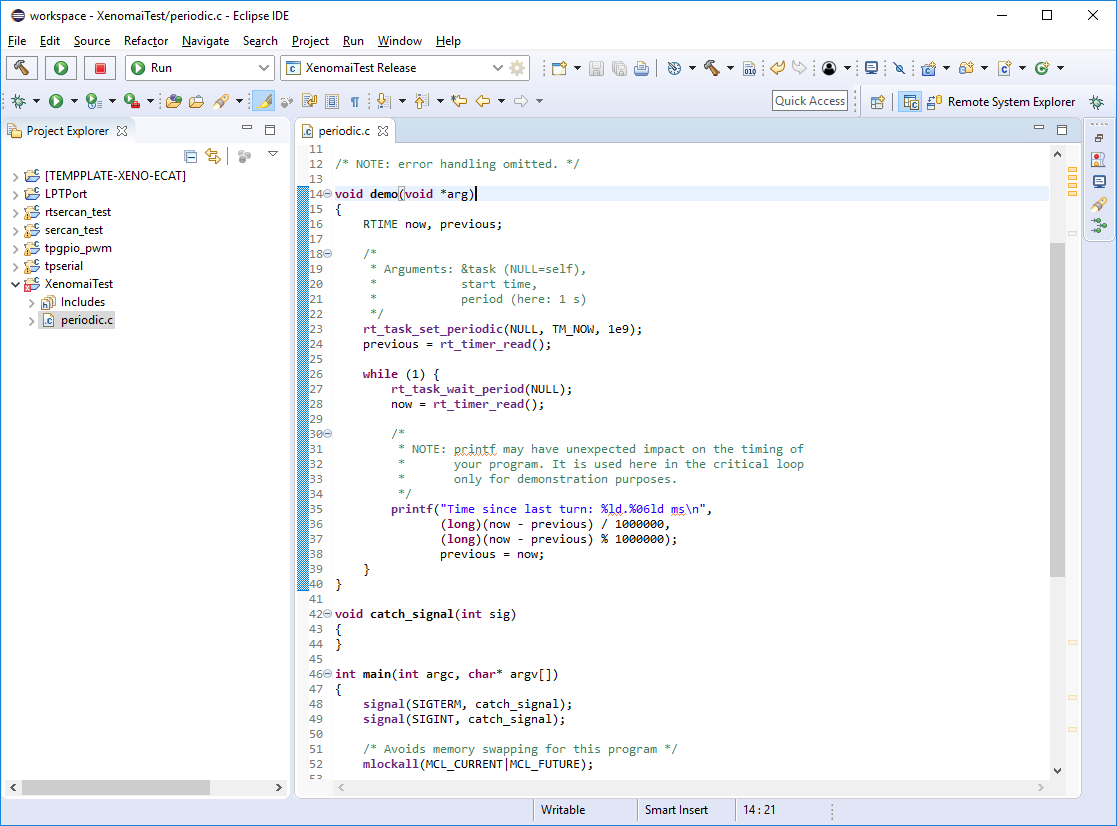
In Project Explorer, you can find several example projects.
If the example project is not imported in the Project Explorer, you can import the projects by selecting File > Import > General > Existing Projects into Workspace and setting the example project path.
Following table summarizes a description of each example project. The build test of the example project can verify that all platform tools are working properly.
| Name | Description |
|---|---|
| [TEMPLATE-XENO-ECAT] | Template project for Xenomai, EtherCAT applications |
| LPPort | Parallel port control example |
| rtsercan_test | Test application for CAN module in realtime mode |
| sercan_test | Test application for CAN module in normal linux |
| tpgpio_pwm | Example controlling GPIO to generate PWN |
| Tpserial | Handling serial ports example |
| XenomaiTest | Xenomai simple test |
Note
If importing project fails, delete the .metadata folder inside example/workspace and run Eclipse again.
Build example project
Since example projects in new SDK use CMake, extra steps are required to generate Makefile before project can be built.

Example project structure
Step 1: Create two folders "Release" and "Debug":
Right-click on Project name, select > New > Folder
At Folder name, type name of new folder, then click Finish

Add build folder
Step 2: Double-click on Cmake_Release and Cmake_Debug to generate Makefile.

Generate makefile
From now, you can built project as normal eclipse project. For example, to build with Release configuration:
-
Right-click on project name, select Build Configurations > Set Active > Release
-
Right-click on project name, select Build Project
Running an Example
1. Run in Eclipse
The XenomaiTest example project is an example for Xenomai's real-time performance testing that prints the time at exactly one second intervals.
-
Build the example: In the Project Explorer panel, right-click on the XenomaiTest project and choose Build Configuration | Set Active | Release to change to release mode.
-
Right-click on the project again and select Build Project.
If everything goes fine, you will get the "Build Finished" message without error, you are ready to test your example. To run the built application in STEP, you must move the built binary file to the target (STEP). This can be done by SSH in Eclipse.
-
Check the SSH connection: navigating the menu Window | References and select Remote Development | Remote Connections as shown in picture.
-
Write STEP IP address (in Host), User, and Password, and the press Finish button to complete setup.

-
Make run configuration: In Project Explorer, right-click on the XenomaiTest project and select Run As | Run configurations
-
In Run configurations dialog, double-click C/C++ Remote Application, and then XenomaiTest Release is created
Fill in the project and target information as shown below and the Run button will be activated when the selected project is successfully built. Clicking the Run button transfers the binary file to the target and executes the example.

If executed successfully, the console of Eclipse window displays the result every 1000ms as shown in figure below. The application can be terminated by clicking the Terminate button or the square red button on the toolbar of the console panel.

2. Run in target
Instead of running the application using the remote tool provided by Eclipse, users can also run the application directly on the target. Copy and paste the binary file built on the host PC ([Project path]/Release/XenomaiTest) to the target, and run it as follows through PuTTY terminal.

Directly run application in the target
Run Other Application
The run configuration has to be created for every new application. STEP installation package provides two run configurations for Release and Debug modes. For a new application one can create a new run configuration by duplicating one of these.
Take NRMKtp_pwm for one example.
-
In Project Explorer right-click on the tpgpio_pwm project and select Run As | Run configurations
-
right-click on the XenomaiTest Release, select Duplicate
-
When a copy of tpgpio_pwm Release is created, set it according to figure below and click Apply

Creating a new run configuration from an example configuration
As shown in figure below, an error may occur when running the application. This usually happens when there is the same application that was previously run and not shut down.

To resolve this error, the process must be manually killed. First, check the current process running on Linux using the following command:
1 | |
Terminate the process using the following command:
1 | |
