Installation and Execution of STEP
Preparation
Following preparation is required to install STEP and PlatformSDK as shown in figure below.
-
Target PC: STEP
-
Host PC: PlatformSDK will be installed PC (Windows, Linux)
-
Ethernet cable to connect the target and the host

실시간 제어시스템 패키지: STEP 및 PlatformSDK
Note
STEP has two Ethernet ports. One for EtherCAT slave connection, and one for network configuration between host and target
PlatformSDK Installation
PlatformSDK should be installed on the host PC. Please download installation file in Download Page depending on your STEP version.
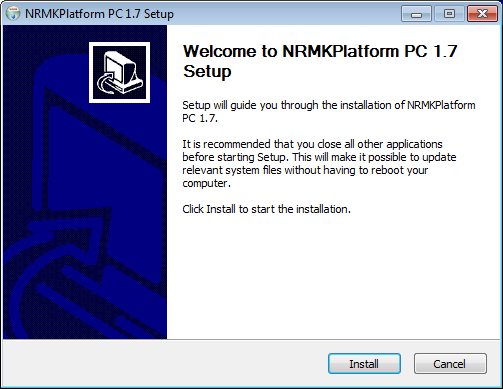
If you run the installation file, the screen below appears. Follow the instructions to complete the installation.
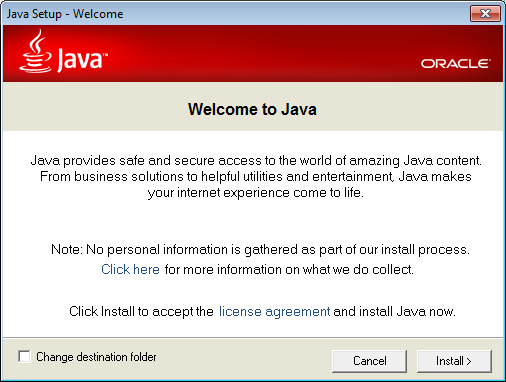
Select the installation path (default directory is C:\Program Files (x86)\neuromeka). Users will be asked to install JRE tool in the dialog shown in below. If the host PC does not have Java (JRE or JDK) installed, you may click Yes to install this tool.
In the next step, you need to install the Microsoft Visual C++ redistributable pakage. This is nesecassy for running several Neuromeka tools.

Microsoft Visual C++ redistributable
Next, you are asked for installing Cygwin. If you don’t have Cygwin installed on your PC, click Yes to start installation.

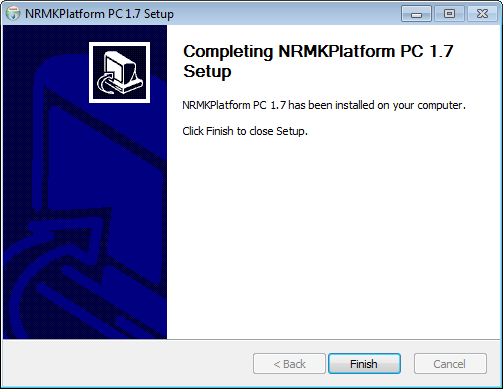
When everything has been installed successfully you will see the dialog shown.
The list of installed software and tools is shown below.
-
Java Runtime Environment (JRE) for running Eclipse IDE on Windows
-
Eclipse IDE
-
Cygwin
-
GCC cross compiler for i686 (x86_64) on Windows
-
NRMKPlatformPC2/3 libraries: Xenomai and EtherCAT library
Following three subfolders are created in the path where PlatformSDK is installed: (C:\Program Files (x86)\neuromeka\NRMKPlatformPCx).
1. NRMKPlaformPC2 (STEP2)
-
bin : Xenomai library (32 bit), EtherCAT library, Eclipse IDE
-
Drivers: NRMKPlatformPC driver (32bit), tools
-
example/workspace : pre-built example proejcts
2. NRMKPlatformPC3 (STEP3)
-
bin : Xenomai library (64 bit), EtherCAT library, Eclipse IDE
-
Drivers : NRMKPlatformPC driver (64bit), tools
-
example/workspace : pre-built example proejcts
In C:/cygwin path, GNU tool-chain is installed.
Remotely Connect to STEP
In order to run STEP applications developed in the host PC, the remote connection using SSH is used. The STEP is equipped with two RJ45 ports (Ethernet ports), one of which is used for EtherCAT communication and the other is for Ethernet.


Ethernet and EtherCAT ports of STEP2 (left) and STEP3 (right)
1. Remote connection using dynamic IP (DHCP)
In case users want to get internet connection for the STEP-PC, they can connect Ethernet port to LAN network. The Ethernet port has been configured to automatically acquire IP (DHCP), so if users are using a router, STEP will automatically be assigned an IP.
Once the configuration is completed by connecting the host and target (STEP) to the same network, search for the IP of STEP using the IP scan tool (Advanced IP Scanner) as shown below.
- Run Advanced IP Scanner and click Scan button to find host and STEP IP addresses.
- Find host IP (e.g., 192.168.0.4) and target IP (e.g., 192.168.0.7)

Advanced IP Scanner utility to find host and target IP addresses
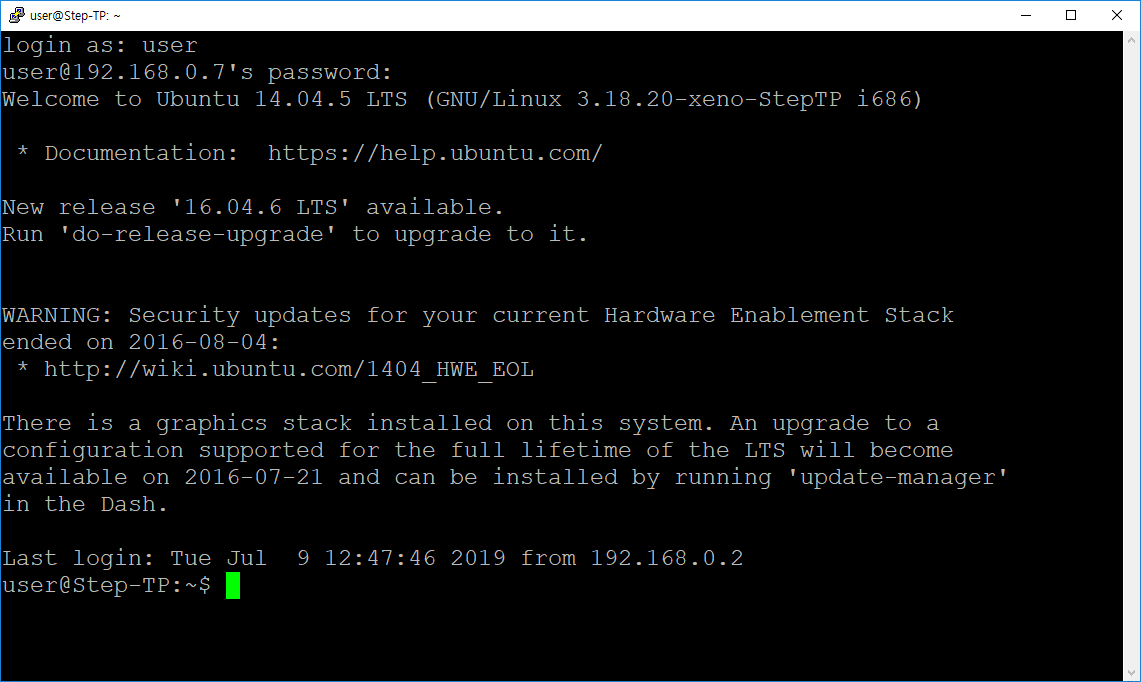
Once the host and the target are connected, user can access the target via SSH by SSH client applications like PuTTY. Putty can be launched from menu Tools of NRMKLauncher.
-
Launching PuTTY, select connection type to SSH
-
Input the target’s IP in the Host Name field (i.e., 192.168.0.7)

Note
Please ask to Neuromeka sales team sales@neuromeka.com for STEP log-in information (ID and password).
Now users can deploy and execute the applications developed in the host PC to the target. Users can deploy applications to STEP using SSH or Samba protocols. Choose one method to deploy your application to your target.
- Using SSH Protocol
- SSH transfer using SFTP, SCP, FTP clients like WinSCP
The application can be downloaded to the target via SSH protocol for debugging or running.
- Using Samba Protocol
- Run Run dialog (Windows Key + R) in the host PC
- Enter the target's IP address (e.g.,\\192.168.0.7)
2. Remote connection using static IP
If users want to directly connect target (STEP) and host without using a router, static IP addresses should be assigned to both host and target.
Both the host (Windows) and the target (STEP, ubuntu) set a specific IP address as a static IP, and then use the Advanced IP Scanner to verify that both IP addresses are assigned on the same network.

If the host and target are connected to the same network, users can access STEP through PuTTY as described above.
3. User ID and directory
-
root log-in: get super user permission (which can access and control any system or hardware).
-
user log-in: get regular user permission (which can access user's own files in /home/user directory).
When a regular user needs to control the system like a super user, the user must temporarily obtain super user privileges using the sudo (super user do) command.
Chage password: regular user can change root password using sudo passwd command as shown in picture below.

Directory: Typically, each user on a Linux system has its own directory called home directory. Home directory is the directory after users log in to the system or execute the cd ~ command. For STEP, root's home directory is /root/ and user's home directory is /home/user/.
As shown below, user's home directory in STEP has several subdirectories and symbolic links for development purposes.
1 2 3 4 5 6 7 8 9 10 | |
-
/home/user/dev/runtest/Release: save release binary application
-
/home/user/dev/runtest/Debug: save debug binary application
-
/home/user/sys/RTSERCAN/firmware: firware and update tool
-
/home/user/release: symbolic link of ~/dev/runtest/Release
-
/home/user/debug: symbolic link of ~/dev/runtest/Debug
